
Digital Marketing
·
April 10, 2026
How SaaS Companies Handle Billing Disputes & Chargebacks
Learn how SaaS billing disputes happen, what triggers chargebacks, and how both sides can resolve them faster.
Step-by-step guide to map deal stages, require conditional properties, and build HubSpot workflows that automate tasks, flag stalled deals, and improve forecasting.
Automating your HubSpot deal pipeline simplifies repetitive CRM tasks like updating deal stages, assigning follow-ups, and sending notifications. This guide shows how to set up automation that saves time, ensures no prospects are missed, and improves forecasting accuracy. Key steps include:
Whether you're on HubSpot's Starter, Professional, or Enterprise plan, this guide helps you create a rules-driven pipeline that reduces manual work and keeps your CRM up-to-date. Follow these steps to improve efficiency and focus on closing deals.

HubSpot Sales Hub Plan Comparison: Features and Pricing for Deal Pipeline Automation
The level of your HubSpot subscription dictates the automation features you can use. If you're on the Sales Hub Starter plan ($9 per seat per month, billed annually), you’ll have access to basic automation. This includes setting up triggers for tasks or internal email notifications when deals move to new stages. For instance, you can notify a manager or assign a follow-up task when a deal reaches the "Contract Sent" stage [7].
For advanced functionality, consider Sales Hub Professional ($90 per seat per month) or Enterprise ($150 per seat per month). These plans give you access to the full workflow editor, allowing up to 300 custom workflows on Professional and 1,000 on Enterprise [7]. They also include pipeline rules that prevent sales reps from skipping stages or moving deals backward [5]. Keep in mind, these plans come with onboarding fees - $1,500 for Professional and $3,500 for Enterprise [7].
Access permissions are equally important. To set up pipeline automations, your account must have either "Super Admin" or "Workflow edit" permissions [3]. Additionally, creating or modifying pipelines and stages requires "Edit property settings" permissions [2]. Check your user profile to ensure you have these permissions; otherwise, you’ll face delays in the setup process.
| Feature | Starter | Professional | Enterprise |
|---|---|---|---|
| Deal Pipelines | 2 | Unlimited | Unlimited |
| Automation Type | Basic triggers | Advanced workflows | Advanced + approvals |
| Max Workflows | N/A | 300 | 1,000 |
| Pipeline Rules | No | Yes | Yes |
Once you’ve confirmed your account and permissions, it’s time to dive into the essentials of pipeline setup.
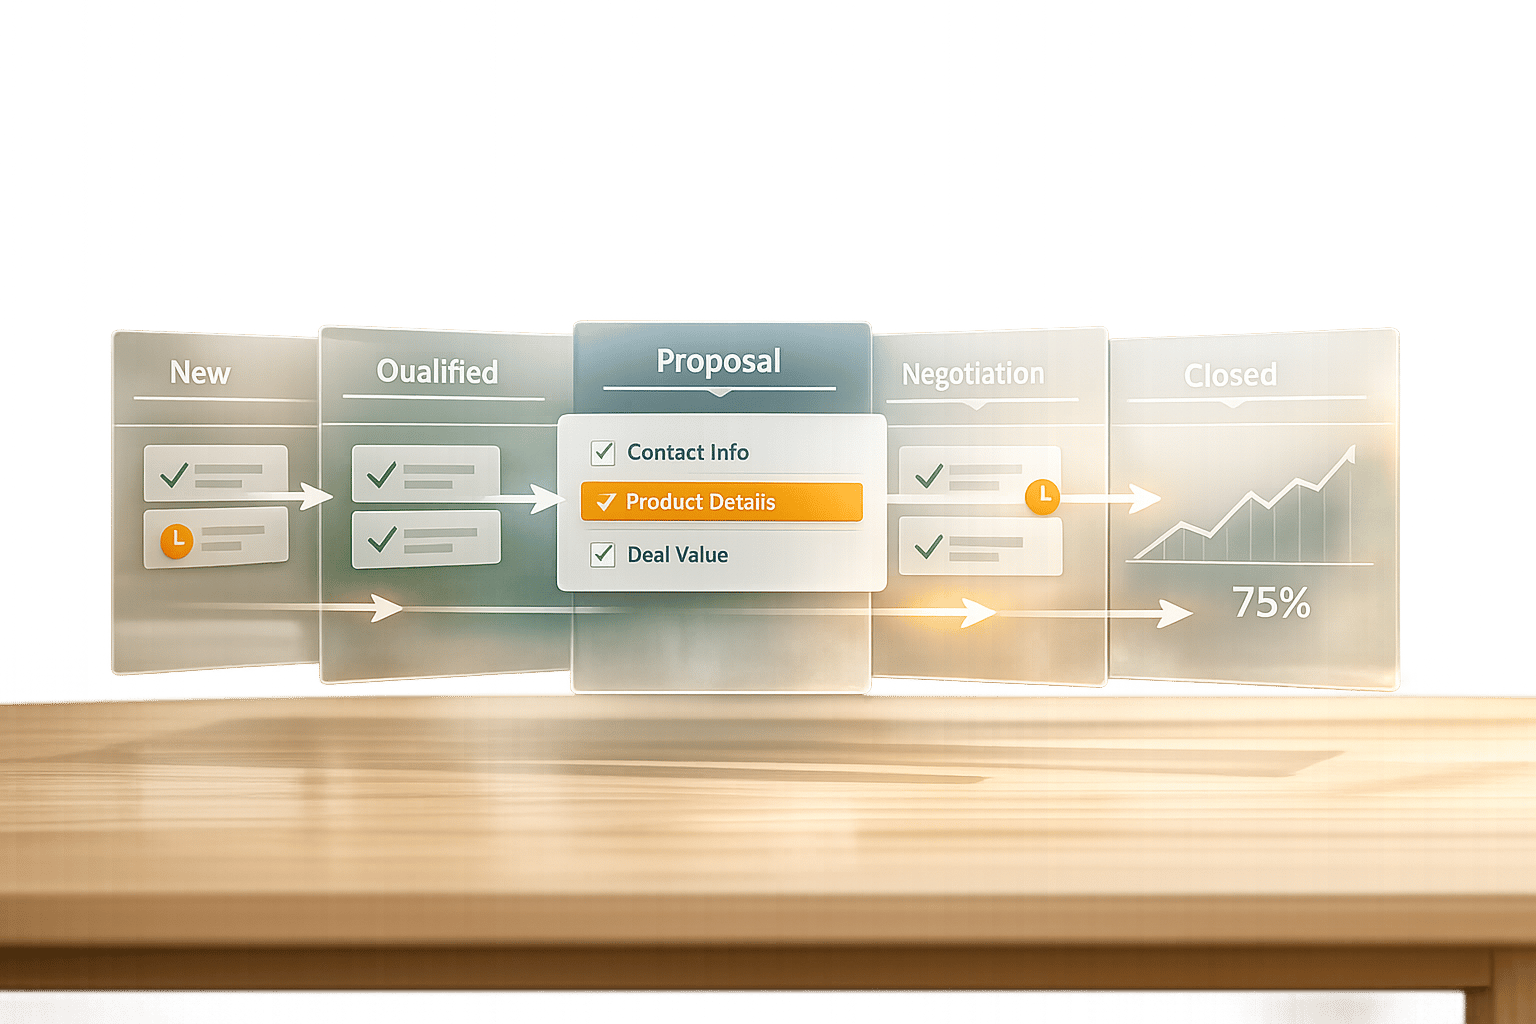
Pipelines are a visual representation of your sales process, helping you track potential revenue opportunities and identify bottlenecks [2]. Each pipeline is divided into stages, such as "Appointment Scheduled" or "Contract Sent", which indicate where a deal stands in your process [2]. Every stage should have an associated probability (ranging from 0% to 100%) that reflects the likelihood of closing. HubSpot uses these probabilities to calculate weighted revenue in forecasts [2]. To ensure accurate reporting, your pipeline must include "Closed Won" (100% probability) and "Closed Lost" (0% probability) stages [2].
Before diving into automation, take the time to map out your sales process. Only create separate pipelines if your sales processes differ significantly; otherwise, stick to a single pipeline and manage access through team permissions [2]. Additionally, you can add conditional stage properties, requiring users to input specific data - like "Deal Source" - before advancing a deal. This step ensures your automation has all the necessary information to function correctly [2].
When naming your deal stages, focus on specific, action-oriented labels like "Presentation Scheduled" instead of vague terms like "In Progress" [9]. This approach eliminates confusion and helps your team track progress more effectively.
"Setting up well-defined deal stages is an important first step to gaining insight into your sales funnel and improving sales team performance." - Meghan Hultquist, HQ Digital [9]
A manageable pipeline typically includes 6-8 stages [9]. HubSpot’s default stages are a great starting point: Appointment Scheduled (20%), Qualified to Buy (40%), Presentation Scheduled (60%), Decision Maker Bought-In (80%), and Contract Sent (90%) [2][9]. Collaborate with your sales team to confirm these percentages align with your process, as this can enhance forecasting accuracy [9].
"Your sales pipeline begins where your marketing funnel ends." - Meghan Hultquist, HQ Digital [9]
Be cautious about starting deals too early. The first stage should reflect a clear prospect action, such as scheduling a discovery call, rather than just expressing initial interest [9]. For those on Professional or Enterprise plans, you can manage up to 50 pipelines - ideal if you handle multiple sales processes or product lines [9].
Once you’ve defined your stages, focus on maintaining data quality by implementing required and conditional properties.
Required properties ensure your team captures key information before moving deals forward. For example, make the "Closed Lost Reason" field mandatory when a deal moves to the "Closed Lost" stage. This helps identify recurring reasons for lost opportunities [10]. Similarly, requiring a "Budget" field at the "Qualified to Buy" stage ensures your team is focusing on realistic prospects [2].
Conditional properties take this a step further by displaying fields only when relevant. For instance, show a "Legal Sign-off" checkbox only when a deal reaches the "Contract Sent" stage [2]. This keeps your pipeline uncluttered while ensuring the right data is collected at the right time.
If you’re using Professional or Enterprise plans, you can enable pipeline rules to prevent users from skipping stages or moving deals backward [5]. This feature ensures all required fields are completed in sequence, maintaining consistency across your pipeline. However, keep in mind that read-only properties like HubSpot scores cannot be used as conditional fields since they are not manually set [2][8].
For added automation, HubSpot can set the "Close Date" to the current date when a deal moves to "Closed Won" or "Closed Lost" [10]. This small adjustment saves time and ensures accurate reporting without manual input.
Custom properties allow you to tailor your CRM to your specific sales process. For example, creating "Deal Stage Timestamp" properties (using the Date Picker type) lets you track exactly when deals move through each stage [1]. This data is invaluable for identifying bottlenecks and measuring pipeline velocity.
| Property Category | Example Properties | Purpose |
|---|---|---|
| Required Fields | Budget, Decision Maker, Closed Lost Reason | Ensures essential data is captured before advancing deals [11][2] |
| Automated Fields | Date Entered [Stage Name], Time in Current Stage, Deal Probability | Tracks deal progress and closing likelihood without manual effort [10] |
| Revenue Tracking | Annual Contract Value (ACV), Monthly Recurring Revenue (MRR) | Improves forecasting for subscription-based models [11] |
| Process Tracking | Deal Stage Timestamps, Additional Owners, Deal Type | Monitors milestones and team responsibilities [11][1] |
For subscription-based businesses, properties like Annual Contract Value (ACV) and Monthly Recurring Revenue (MRR) are critical for accurate forecasting. These features require Sales Hub Professional or Enterprise plans [10][11]. If multiple team members manage deals, consider adding an "Additional Owners" property to assign both an Account Executive and a Customer Success Manager to the same opportunity [11].
Before adding new properties, review your current data setup to avoid cluttering your CRM with unnecessary fields [11]. Use consistent naming conventions - avoiding spaces or special characters in internal API names - for seamless integration with external tools [11]. These structured property setups are key to building efficient pipeline automations.
Once you've set up your stages and properties, the next step is automating your workflow to keep your sales pipeline running smoothly. HubSpot offers three options for creating workflows: starting from scratch, using the AI-powered Breeze Assistant, or leveraging pre-built templates [12]. For simpler tasks, like sending notifications when a deal enters a stage, you can use the Automate tab within your pipeline settings instead of building a full workflow [3].
A common trigger for automation is when a deal moves into a specific stage. To set this up, navigate to Automation > Workflows and create a deal-based workflow. Use "Deal stage equals [Your Stage Name]" as your enrollment trigger [13][3]. Then, add actions such as creating tasks, sending notifications, or updating deal properties.
For example:
Want to move deals between stages automatically? Use the "Set property value" action to update the "Deal stage" property [12][4]. To allow repeated triggers for the same deal, enable re-enrollment [12]. Always test your workflow before activating it [4].
Next, you can build on these workflows with advanced triggers to address stalled deals or respond to engagement signals.
To handle stalled deals, create a workflow with a 14-day delay and an if/then branch. This branch checks if the deal is still in the same stage. If no progress has been made, the workflow can automatically create a high-priority task for the sales manager or update the "At Risk" property [13]. This method helped a manufacturing client reduce stalled deals by 68% and shorten their sales cycle by 27% in April 2026 [13].
"The sales pipeline is the lifeblood of your revenue operations. When deals stagnate or move through stages inconsistently, it creates numerous problems [including] inaccurate sales forecasting and revenue projections." - Daniel Lynch, Founder and CEO, Empathy First Media [13]
You can also trigger workflows based on engagement signals, like email opens, document views, or website activity [6]. For instance:
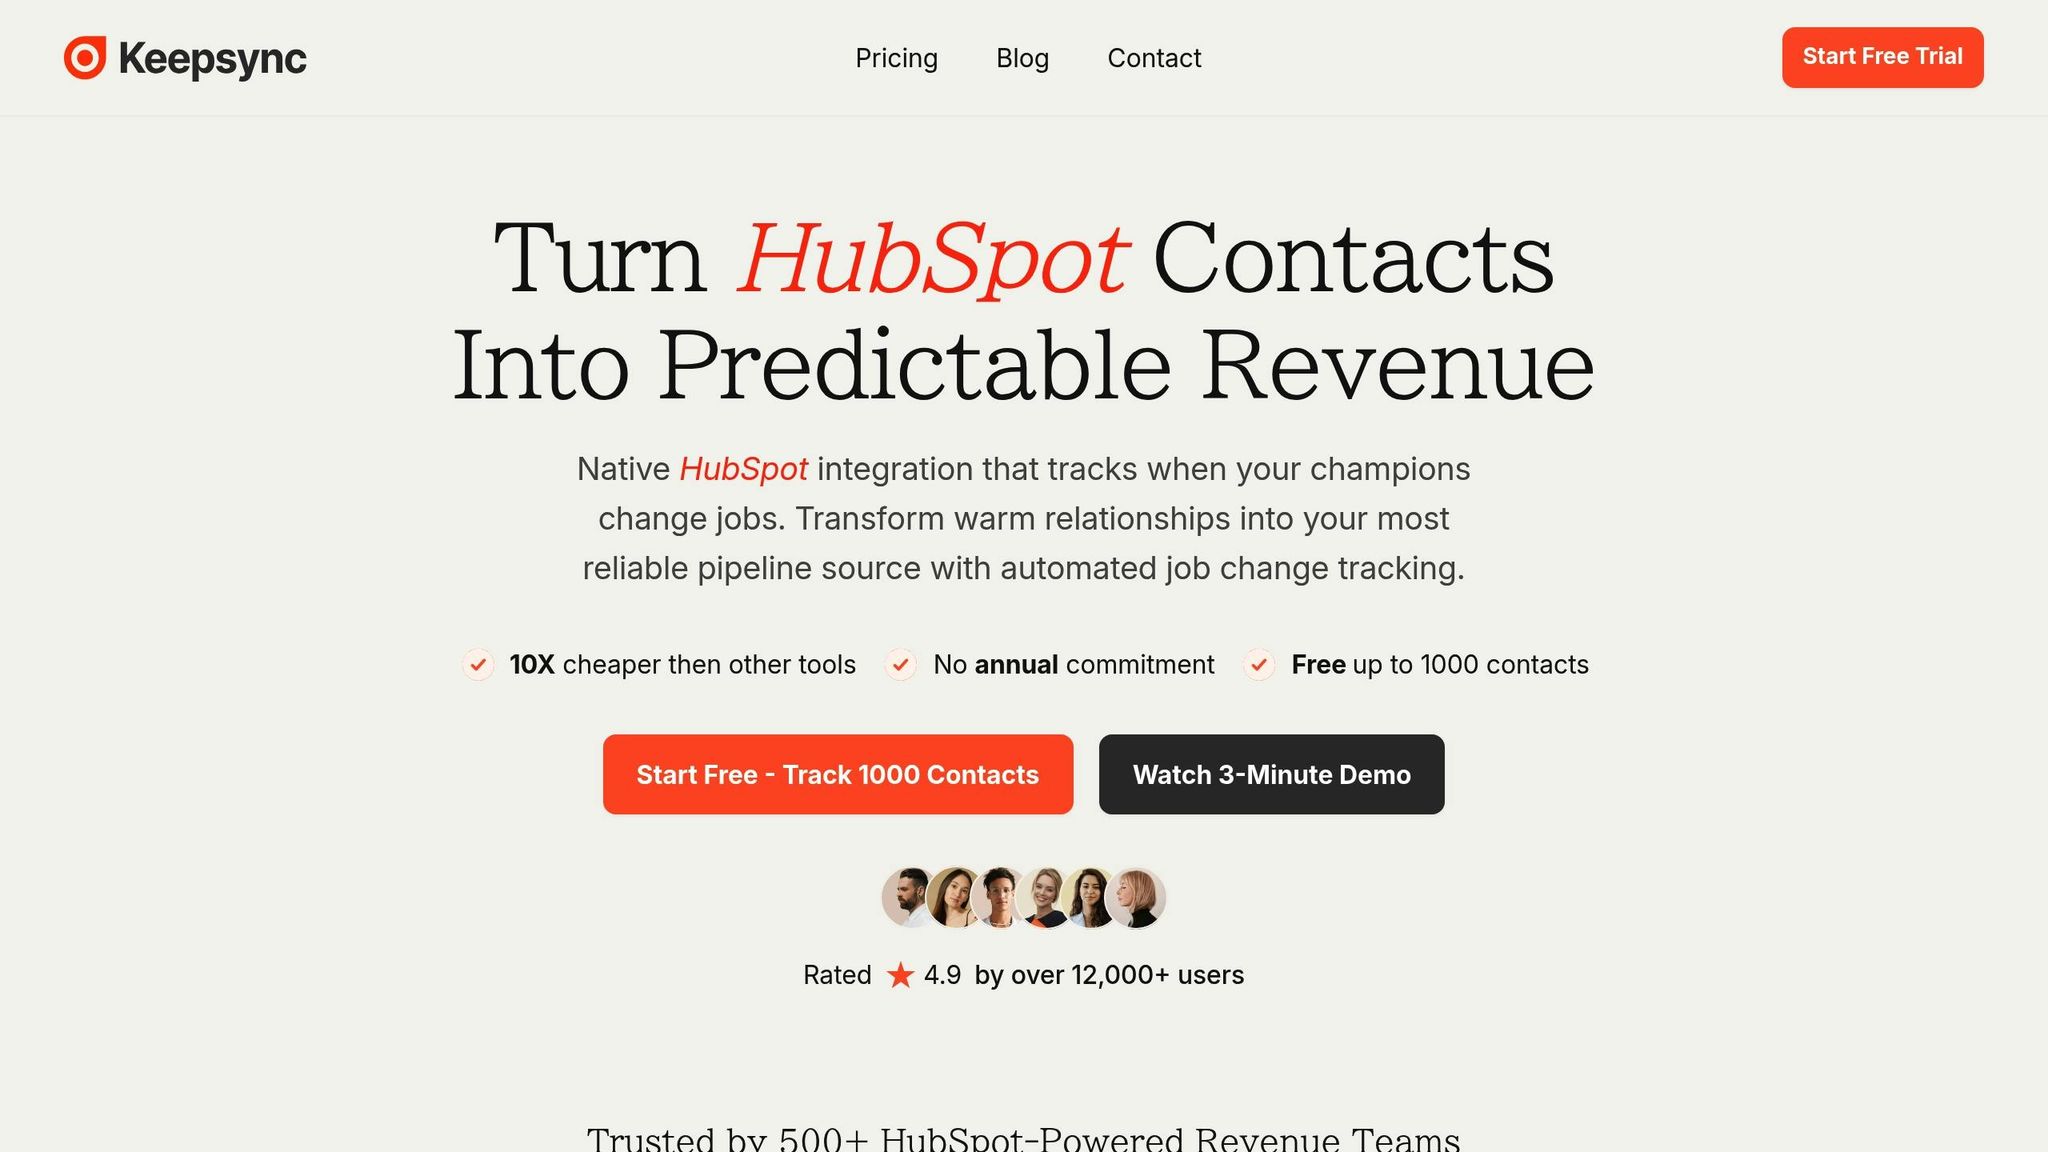
Take your automation a step further by incorporating job change alerts into your workflows. Job changes can disrupt ongoing deals but also open doors to new opportunities. KeepSync monitors your HubSpot contacts weekly across 30+ data sources with 94% accuracy, sending alerts via Slack, email, or directly within HubSpot when someone changes roles. If a contact moves to a new company, KeepSync enriches their record with updated email, phone, and company details - automatically syncing this data to your CRM.
You can create workflows triggered by job change alerts. For example:
KeepSync integrates seamlessly with HubSpot in under five minutes, and its Starter plan is free for up to 1,000 contacts per month.
Once your workflows are set up, it's time to put them through thorough testing to ensure everything runs smoothly. HubSpot provides tools specifically designed to help you catch issues early. These include the Test criteria tool, which checks if a record meets your enrollment triggers, and the Test feature, which simulates how a record progresses through the workflow without performing real actions [14].
To test your enrollment triggers, click the "Test [object]" button in the enrollment triggers panel. This tool uses color coding - green means the record qualifies, while red means it doesn’t. Once you've confirmed the starting conditions, use the "Test" button in the workflow editor to simulate the entire process. The simulation highlights the most likely path in green and includes predicted timestamps for each action [14]. For email-related actions, use the "Send preview" option to check formatting and links without contacting real recipients. If something doesn’t work as expected, double-check the workflow’s timing settings [14].
Once testing confirms your workflows are functioning correctly, you can move on to monitoring their performance.
Before launching your workflow, enable the "Metrics" setting to start collecting data [15]. HubSpot allows you to track metrics for up to 20 workflows in your account. The metrics dashboard provides insights into key areas, including:
You can also use the workflow preview to review the "most traveled path", which is highlighted in green. Hover over individual actions to see "Matching enrollments" and pinpoint where deals may have stalled [15][16]. Comparing performance across different workflow versions can help you understand how changes impact results [15][16].
Use the insights from your testing and performance metrics to fine-tune your workflows for better results. Look for areas where deals are getting stuck or errors are occurring, and adjust the logic or timing settings for those steps [15]. High un-enrollment rates or frequent errors are signs that something in the workflow needs attention. Additionally, enforcing pipeline rules can help ensure data consistency [5].
Before making significant changes, clone your pipeline to preserve your current setup [2]. For added reliability, configure conditional properties - like requiring a "Contract Value" - to ensure workflows have all the necessary data before advancing deals [2]. If troubleshooting is needed, HubSpot’s action logs (available for up to 90 days) can help you identify where deals were unenrolled or why specific actions failed. Keep in mind that workflow enrollment history is stored for six months, while historical data is retained for two years or longer [12].
Automating your HubSpot deal pipeline can completely change how your sales team operates by cutting out manual reviews. With automation, stagnant deals are flagged, and timely alerts are sent to keep things moving [1]. As HubSpot employee aromo explains:
"Not one prospect falls through the cracks, forecasting is more realistic because pipelines are not artificially inflated, and everyone (reps and managers alike) knows where to spend their time" [1].
The setup process - mapping sales stages, configuring conditional properties, building workflow triggers, and thorough testing - lays the groundwork for automating critical tasks. This includes updating deal statuses, scheduling follow-ups, and sending notifications [3][4]. The result? A clean, up-to-date CRM without constant manual intervention, allowing your team to focus on selling instead of data entry.
Automation also brings better pipeline visibility. By enforcing your sales process, automation provides clear insights into each stage. For instance, using weighted forecasts with stage-specific probabilities (like 60% for "Presentation Scheduled" or 90% for "Contract Sent") offers a more realistic revenue outlook, avoiding inflated projections [2]. Managers can quickly identify bottlenecks - if deals are piling up at "Appointment Set", they know where to direct their coaching efforts [1].
The payoff is higher conversion rates through consistent execution. Conditional properties ensure reps input key details, like "Total Contract Value", before advancing deals. Pipeline rules prevent skipping stages, ensuring every opportunity follows your proven process [2][5]. Automation also keeps leads engaged with timely follow-ups and sequences [6].
Refinement is key. Regularly review performance data, adjust stage probabilities as win rates evolve, and clone pipelines before making significant changes to protect what works [2]. With this approach, your sales process becomes smoother, forecasts more accurate, and your team more focused - leading to more closed deals with less effort.
Focus on automating the deal stages that are most important to your sales process. Key stages like initial qualification, proposal, and closing deserve extra attention. Automating these areas can simplify your workflows, cut down on repetitive tasks, and give your team better visibility into the pipeline. The result? A smoother process and stronger sales performance.
To prevent reps from skipping deal stages in HubSpot, you can rely on tools like required fields, workflows, and deal stage rules. These features help ensure that deals meet certain conditions before moving forward, maintaining a structured and accountable pipeline. By setting up these guardrails, you can keep your sales process organized and consistent.
One of the smartest ways to tackle stalled deals is by creating workflows that alert deal owners when a deal lingers in a stage longer than usual. For instance, you can use reports like "Time Spent In Deal Stage" to set up triggers. These triggers can automate follow-up tasks or send reminders, making it easier to take action promptly and keep your pipeline moving smoothly.