
Digital Marketing
·
April 10, 2026
How SaaS Companies Handle Billing Disputes & Chargebacks
Learn how SaaS billing disputes happen, what triggers chargebacks, and how both sides can resolve them faster.
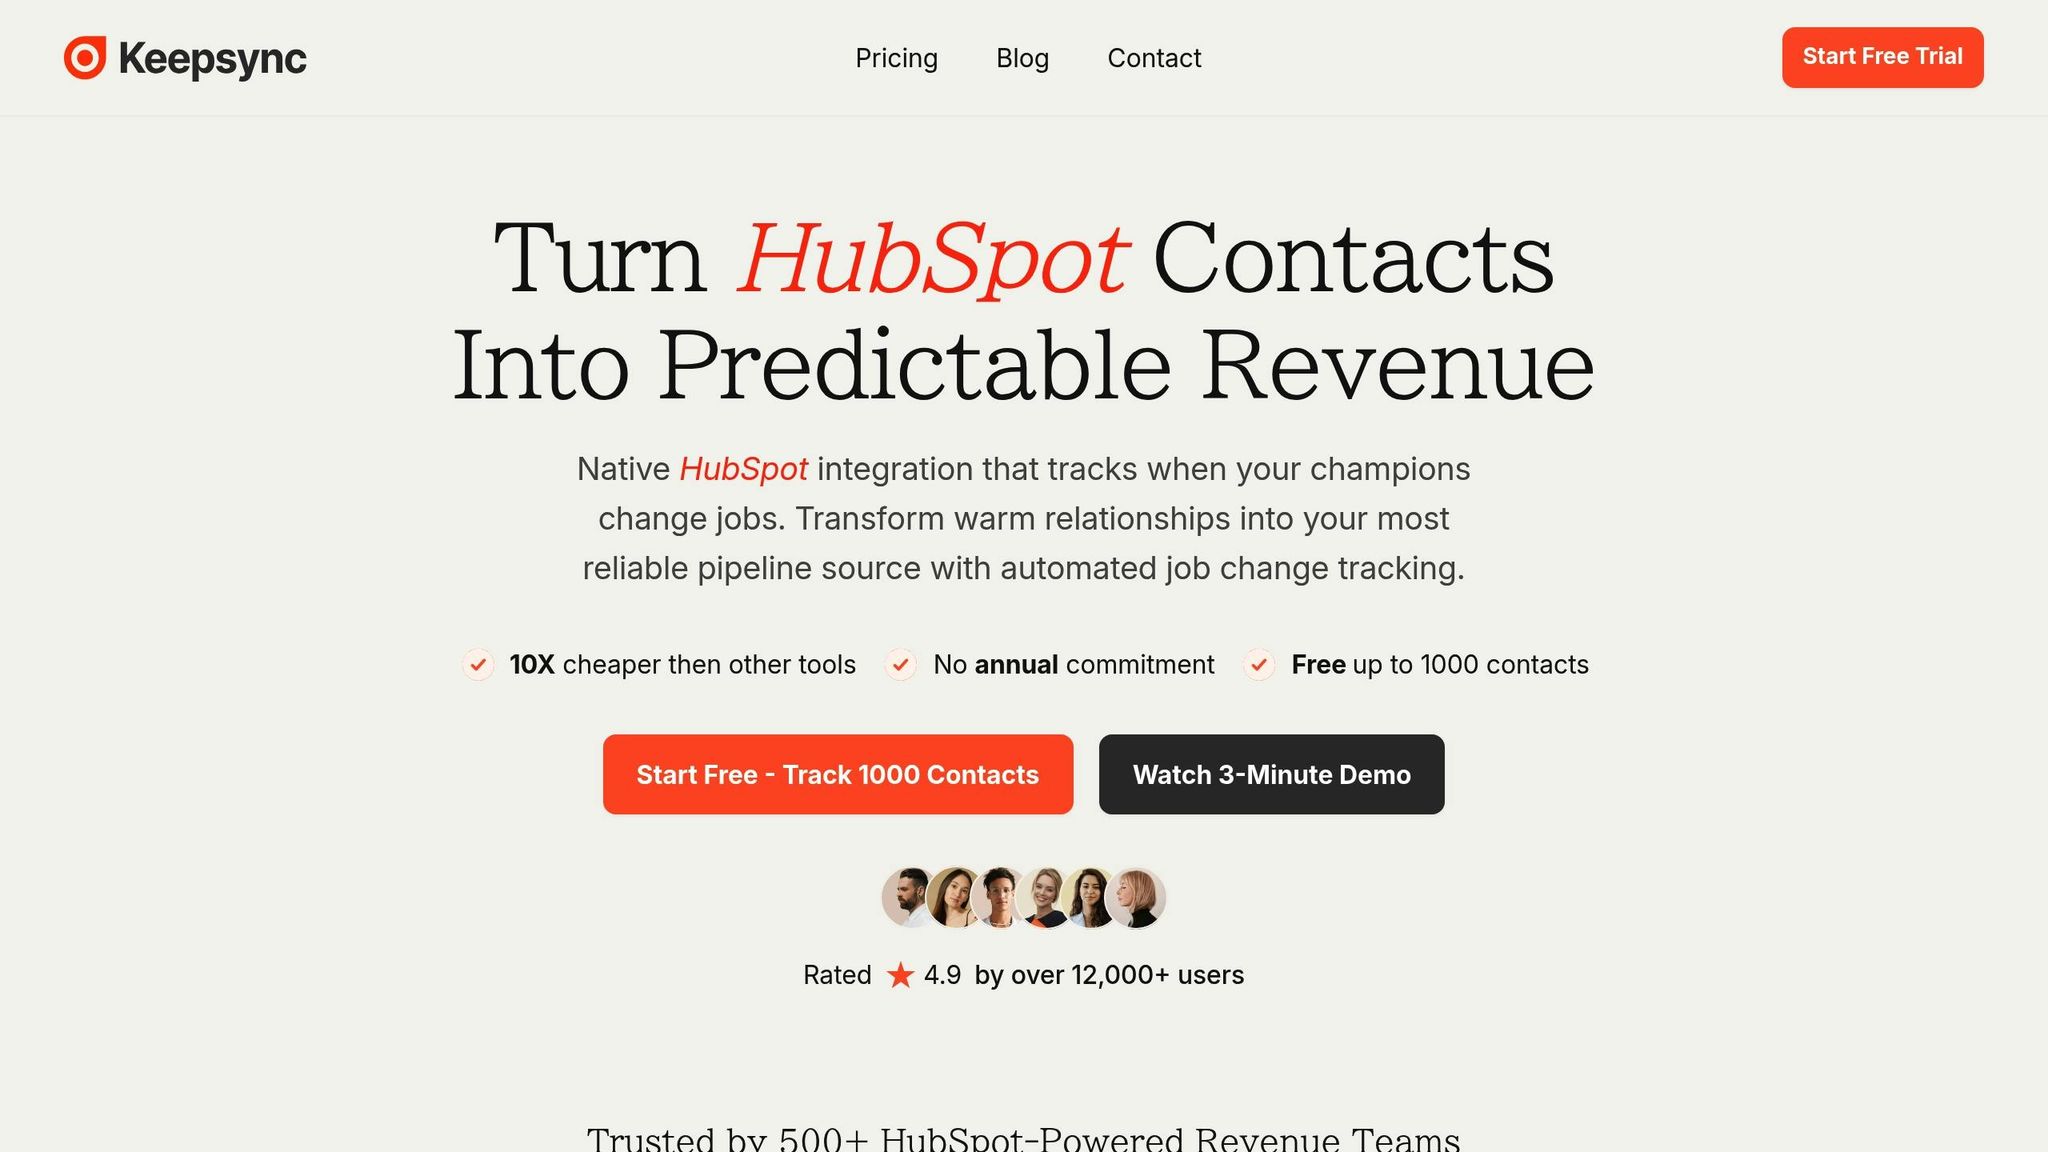
Automate job-change tracking in HubSpot, enrich contacts, and trigger workflows to convert past buyers and capture new executive opportunities.

Your CRM might be more outdated than you think. Around 30% of the workforce changes jobs every year, making your contact data unreliable unless updated. This creates challenges: trusted contacts leave, decision-makers shift, and leads disappear. But job change tracking can turn this into an opportunity.
Here’s why it matters:
By integrating HubSpot with KeepSync, you can automate job change tracking, enrich contact data, and trigger timely outreach. This ensures your sales team acts fast, builds pipeline, and reduces churn risks.
With KeepSync, you can monitor workforce changes, act on warm leads, and boost pipeline efficiency - all while keeping your CRM accurate.

Job Change Tracking ROI: Key Statistics for Sales Teams
Before diving into job change tracking with HubSpot, it’s important to have your CRM properly configured and your KeepSync account connected. Missing essential data like LinkedIn URLs, email addresses, or job titles can lead to inaccurate tracking of role and company changes.
The backbone of this process lies in specific contact properties that act as identifiers. These include LinkedIn URL, Email, Full Name, Job Title, and Company Name. Among these, the LinkedIn URL is the most critical - it serves as the primary anchor for tracking and enhances match accuracy [3][5].
You’ll also need the right permissions in HubSpot. To set up job change tracking, users must have "Edit" and "View" access for Contacts and Companies, as well as "Edit" access for Segments to create contact groups for monitoring [7]. Additionally, enable the "Enrich records" setting to allow external data to update contact properties [7]. If automation is part of your plan, make sure you have "Edit" or "Publish" access for the Workflows tool. After updating permissions, log out and back in to ensure changes take effect [7][8].
Finally, access to the HubSpot App Marketplace is required to connect KeepSync to your CRM [1]. Once permissions are in place, integrating KeepSync takes about five minutes and doesn’t require technical expertise.
Start by reviewing and configuring your HubSpot contact properties. Navigate to Settings > Data Management > Properties and ensure fields for LinkedIn URL, Job Title, and Company Name are present. If these fields exist but aren’t consistently populated, focus on updating them for high-priority contacts like past customers, active leads, and key decision-makers.
For the Job Title property, enable HubSpot’s "Track changes" feature. This creates an audit trail that records when a contact’s title changes - helpful for identifying promotions and timing outreach [6]. Keep in mind, HubSpot allows up to 25 property change events per account, with a monthly cap of 30 million occurrences [6].
Every tracked contact should also have a Contact Owner assigned. This ensures job change alerts are routed to the right person, preventing missed follow-ups [3]. Without an assigned owner, alerts might not reach the intended recipient, causing opportunities to slip through the cracks.
| Required Property | Purpose | Configuration Tip |
|---|---|---|
| LinkedIn URL | Tracks profile updates | Mark as "Visible" on contact records; prioritize key accounts |
| Job Title | Identifies promotions or lateral moves | Enable "Track changes" in settings |
| Company Name | Tracks when contacts switch employers | Map to the "Current Company" field in integration |
| Contact Owner | Routes job change alerts to the appropriate owner | Ensure every monitored contact has an assigned owner |
| Email Address | Secondary identifier for avoiding duplicates | Use as a unique identifier for syncing operations |
Once your contact properties are ready, connect KeepSync through the HubSpot App Marketplace. Search for KeepSync, click "Install", and follow the prompts to grant access to your HubSpot account. During setup, you’ll select the contact property containing LinkedIn URLs - if you’ve followed the earlier steps, this part will be simple [3][5].
Next, map HubSpot properties to KeepSync’s tracking fields. You’ll choose between two options: "Replace" existing data to keep everything up-to-date, or "Complete only if empty" to preserve any manual entries. Many teams prefer "Replace" for consistency, but if sales reps include custom notes, the second option protects those details.
Enable the "Update contacts" and "Update accounts" toggles to let KeepSync detect existing records using HubSpot Contact IDs and company domain names. This prevents duplicate entries and ensures streamlined data management [3]. You can also automate task creation - when a contact changes companies or roles, KeepSync can generate a HubSpot task assigned to the contact owner [3][1].
For teams using HubSpot Enterprise, consider leveraging custom objects to store job change signals. This approach allows for more advanced reporting and lets you track multiple job changes for the same contact over time [3][1].
To get started with KeepSync, first ensure your contact properties and permissions in HubSpot are ready. Then, visit the HubSpot App Marketplace, search for KeepSync, and click "Install". You'll need to authorize the connection to your HubSpot account, but the entire process takes just five minutes and doesn’t require any technical setup[1].
During installation, you’ll select the HubSpot contact property that holds LinkedIn URLs. This property acts as the key identifier that KeepSync uses to track job changes. Next, map fields like Job Title and Company Name between HubSpot and KeepSync. You’ll also decide how updates are handled: choose "Replace" to overwrite existing data or "Complete only if empty" to preserve manual entries. Many sales operations teams prefer the "Replace" option for consistency, while the alternative is useful if you want to keep custom notes intact.
For HubSpot Enterprise users, creating a custom object (such as "Intent") can be a smart move. It lets you store multiple job change records for a single contact, enabling more detailed reporting and insights over time.
Once you’ve installed KeepSync and mapped the necessary fields, you’re ready to set up continuous contact monitoring.
After installation, activate weekly monitoring to track job changes on an ongoing basis. Import your HubSpot contact lists into KeepSync to enable this feature. Weekly updates ensure you’re always aware when key contacts move to new positions.
You can also apply Ideal Customer Profile (ICP) filters during setup to focus on your target audience. For example, if your business targets VP-level executives in tech companies with 500+ employees, these filters will help you zero in on relevant contacts while reducing unnecessary alerts about roles or industries outside your focus.
Real-time notifications are essential for acting quickly when job changes occur. KeepSync can trigger HubSpot tasks - complete with customizable priority levels and details like previous company information - assigned directly to the relevant Contact Owner. To streamline the process, create a dedicated "Job Change" task queue in HubSpot so sales reps can handle these alerts without mixing them into their general task lists.
Additionally, you can set up workflows to send alerts via Slack (e.g., #sales) or email, ensuring the assigned Contact Owner gets notified promptly. These instant updates can help your team respond faster and stay ahead of opportunities.
Once you’ve set up proper configuration and monitoring, the next step is segmentation - it’s all about zeroing in on the contacts that matter most. Not every contact needs the same level of attention. Your top priorities should be former champions and past buyers, as these individuals are already familiar with your product and its value. On the other hand, contacts from closed-lost deals might present new opportunities if they’ve moved to organizations where previous hurdles, like budget limitations or timing, no longer exist [1].
It’s also smart to focus on decision-makers who understand your product and its benefits. Target executives early in their new roles, as they often have the authority to make significant budget decisions. Using job change signals strategically can increase your pipeline by anywhere from 10% to 50% [1]. Here’s an eye-opener: 89% of former customers don’t automatically return to their previous vendors when they assume a new role [1]. This makes proactive tracking essential. To stay on top of these opportunities, create segmented lists in HubSpot to continuously monitor and prioritize these contacts.
In HubSpot, you can build active segments by navigating to CRM > Segments and applying filters such as "Lifecycle Stage is Customer" or "Associated Deal Stage is Closed-Lost." These segments update automatically as contact statuses change, ensuring you’re always working with the most current data [9][10].
For specific, one-time groups - like event attendees or champions from a particular year - static segments are a better fit. Unlike active lists, these don’t update automatically, but they’re perfect for organizing contacts manually [9]. Another helpful approach is creating a “stale data” segment. This list can flag contacts whose information hasn’t been updated in nine months or more, helping you identify those who might have already transitioned to new roles [11].
After defining your key segments, integrate them with KeepSync to automate monitoring. Use ICP filters to refine your focus on high-value contacts, such as VP-level executives at tech companies with 500+ employees.
KeepSync takes over from there, scanning your selected segments weekly across more than 30 data sources. It enriches your HubSpot records with updated job titles, company names, and verified contact details. This automation eliminates the need for manual tracking and ensures you’re ready to act quickly when key contacts move into roles with fresh budget authority.
Timely alerts are critical, especially when you consider that new executives allocate 70% of their budget within their first three months [1]. Delayed notifications could mean missed chances to connect. HubSpot makes staying on top of these opportunities easier by offering alerts through various channels like email, desktop notifications, mobile push alerts, and Slack integrations [12]. For high-priority accounts, Slack stands out - it notifies account owners instantly, ensuring no delay in action.
You can configure alerts using HubSpot's Workflows engine. Triggers can be set based on property changes. For example, when KeepSync updates fields like "Job Title" or "Company Name" in your contact records, you can automatically prompt a HubSpot Task for your team to act on [12].
To make these alerts even more actionable, use dynamic merge tags (like Contact Name, New Company, or Old Job Title). This way, reps get all the necessary context right in the alert - no extra clicks required [12]. Enable re-enrollment in workflows so that every time a contact changes jobs, even years apart, the alert is triggered again [12]. You might also want to create a dedicated "Job Change" task queue in HubSpot. This helps your team focus on these warm leads separately from their routine follow-ups [1].
Once your alerts are set up, the next step is to ensure your CRM data stays current through automated enrichment.
KeepSync can automatically update your HubSpot contact properties when it detects a job change. This includes verified email addresses, phone numbers, and company details [13]. Keeping your data fresh is essential, especially since professional information can become outdated quickly - about 20% of it changes every quarter [13].
You can tailor enrichment settings to fit your data management needs. For example, you can choose to "enrich only if empty", preserving any manual updates made by your team. Alternatively, you can set it to "replace" to ensure your records are always up-to-date. KeepSync scans over 30 data sources weekly, minimizing the need for manual updates. This automation is crucial since 89% of past customers don’t return on their own when they take on a new role [1].
When KeepSync updates a contact's job information, it's crucial to act fast. HubSpot workflows allow you to automate outreach as soon as a contact transitions to a new role. This ensures you connect with them during that critical period when they’re making purchasing decisions. Why is this so important? Past buyers are 5x more likely to convert into closed-won revenue compared to cold leads [1]. Acting immediately on updated data sets the foundation for workflows that turn fresh insights into actionable opportunities.
Start by navigating to Automation > Workflows in HubSpot, and create a contact-based workflow [14][15]. For your enrollment trigger, focus on KeepSync-specific properties. For example, set the trigger to "Job started since" when applicable or use "No longer at company" set to True. This ensures the workflow activates only when KeepSync updates a contact's employment details.
Make sure to enable re-enrollment in the workflow settings. This way, if the contact changes jobs again in the future, the workflow can trigger anew [14]. Once enrolled, automate follow-up actions like creating tasks for the record owner, sending Slack alerts, or initiating a follow-up sequence. Use conditional routing to tailor actions based on the contact's role - for instance, create a "High Priority" branch for contacts with titles like "VP" or "Director" [1].
Personalization is key. Use HubSpot tokens in your emails to stand out, such as: "Congrats on moving from [Old Company] to [New Company]!" - this small touch can significantly boost response rates [1]. Before reaching out, update the contact's company association in your CRM to give your sales reps the right context [16]. By combining these workflow triggers with your broader sales automation strategy, every job change becomes a chance for timely, personalized engagement.
After defining your workflow triggers, take things a step further by setting up precise lead routing rules. Create a "Job Change Signals" task queue in HubSpot to help your team prioritize warm leads. Use branching logic to separate "Job Movements" (existing contacts moving to new companies) from "New Hires" (new individuals joining target accounts). For lower-priority changes, enroll contacts in a "Job Change" sequence for scaled outreach. Reserve manual task creation for high-value executive moves where a personal touch is essential.
If a contact leaves a current customer account, set up a branch to notify your Customer Success team immediately. This helps address potential churn risks while uncovering opportunities to expand at the contact's new company. To maintain data accuracy, use If/Then branches to check if the new company exists in your CRM. If not, trigger a "Create Company" action to ensure clean and updated associations. These routing strategies not only streamline your process but also help maximize ROI by turning job change signals into meaningful sales opportunities.
Once your workflows are live, it’s time to evaluate what’s working. Identify which job change signals are driving revenue and pinpoint areas where outreach can improve. By combining HubSpot's custom views with KeepSync's analytics tools, you get a clear picture of performance, helping you fine-tune your strategy. This step is key to improving your ROI tracking and refining your approach.
In HubSpot, you can create filtered views to focus on high-value job change leads. Head to CRM > Contacts and use the Advanced Filters feature. For instance, apply filters like “No longer at company = True” and “Last modified date is less than 30 days ago” to zero in on recent job changes. Save this setup as a view tab, such as “Recent Job Changers,” so your team can quickly access these leads without reapplying filters every time.
Another smart move? Create a “Warm Leads” view to identify job change leads that haven’t been contacted yet. Use "is unknown" filters to flag contacts missing key job information, making it easier to prioritize outreach efforts.[17]
KeepSync’s analytics dashboard is your go-to tool for tracking performance. Monitor metrics like response rates from triggered sequences, the value added to your pipeline, and revenue from closed deals linked to job changes.[1] Here’s an eye-opener: past buyers are five times more likely to convert into closed-won deals compared to cold leads. On top of that, leveraging job change signals can boost pipeline generation by 10–50%.[1]
To streamline this process, consider creating a custom "Intent" object in HubSpot instead of relying only on tasks. Then, set up a dashboard with reports that highlight key trends: response rates, pipeline progression, and closed-won deals. You can even filter these insights by job movement types - like promotions, new hires, or role changes - to see which signals deliver the best results.[1]
Now that your job change tracking is up and running, and your workflows and analytics are in place, it’s time to turn those insights into revenue. The secret lies in prioritizing the right leads and choosing a tracking plan that matches your needs.
To make the most of job change data, focus on four key factors: how well the new company matches your ideal customer profile (ICP), the seniority of the contact’s new role, your past relationship with the individual, and how relevant your solution is to their new responsibilities [1]. Past buyers should be your top priority - they’re far more likely to convert compared to cold leads [1].
Pay special attention to executives within their first 100 days at a new company. This is a critical period when they’re eager to make an impact and more open to exploring new tools. Interestingly, many former customers won’t reach out to you after changing jobs, so proactive outreach is a must [1]. Remember, new executives spend about 70% of their budget within their first three months, making this a prime window for engagement [1].
Don’t overlook closed-lost opportunities either. If someone involved in a deal that didn’t close moves to a new company, the obstacles that blocked the deal may no longer apply. Promotions within existing customer accounts also present upselling opportunities. Additionally, setting up alerts for when key champions leave their roles allows your team to quickly engage with their replacements and reduce the risk of churn [2][4]. These strategies, when combined with segmented workflows, help you stay proactive and targeted in your outreach.
Once you’ve identified your high-value leads, it’s essential to align your tracking plan with the number of contacts you’re monitoring. KeepSync offers three plans tailored to different needs:
To pick the right plan, start by assessing your CRM volume. If you’re tracking about 30% of your CRM - roughly the percentage of the workforce that changes jobs annually [4] - calculate your monthly volume and leave some room for growth. For many organizations, the Team Plan strikes a good balance between cost and scalability.
Integrating job change tracking in HubSpot with KeepSync can transform your sales strategy by consistently delivering warm leads. Why does this matter? Past buyers are five times more likely to convert into closed-won revenue compared to cold leads[1]. By automating updates and enriching contact data, KeepSync ensures your team focuses less on manual research and more on engaging with prospects who are actively considering new tools. When a job change is detected, KeepSync updates contact details, triggers workflows, assigns leads to the right reps, enrolls them in tailored sequences, and creates tasks with all the necessary context.
The statistics paint a compelling picture: 70% of a new executive's budget is spent within their first three months[1], and nearly 89% of previous customers don’t return to a vendor on their own when they switch roles[1]. Leveraging job change signals can increase your pipeline by 10% to 50%[1]. Without proactive tracking, these opportunities - and the revenue they represent - can easily slip through the cracks.
Getting started is simple. Test the waters with the Starter plan ($79/mo), which supports tracking for up to 1,000 contacts per month. As your needs grow, you can scale up to the Team or Agency Plan. With KeepSync’s 94% accuracy across 30+ data sources and seamless HubSpot integration, you’ll unlock missed opportunities and turn your CRM into a consistent engine for qualified leads.
Keeping tabs on job changes gives sales teams a golden opportunity to connect with contacts who’ve moved to new roles or companies. This timing allows for personalized outreach that feels relevant and well-timed. By acting quickly, teams can strengthen relationships and take advantage of these warm signals, which often lead to better engagement and higher conversion rates.
Businesses that use job change alerts have reported pipeline growth ranging from 10% to 50%, along with a much higher chance of turning conversations into closed deals. Using these insights ensures your team stays competitive and gets the most out of their efforts, boosting ROI in the process.
To enable job change tracking in HubSpot, you'll typically need Admin-level permissions or specific access to manage workflows and automation tools. Since permissions can differ depending on how your HubSpot account is set up, it's a good idea to check with your account administrator or review your user settings to ensure you have the required access.
If you're uncertain about your permissions, contact your HubSpot admin or refer to HubSpot's user management guide for more details.
To set up job change alerts in HubSpot, start by focusing on key properties like Job Title, Company Name, and Email. If needed, you can add custom properties, such as "Previous Company", to track additional details. Once your properties are in place, create a property-change event in HubSpot. This event will act as the trigger whenever one of these values is updated.
With the event set up, head to the Automation section to build a workflow. Use this workflow to define actions like sending internal emails or assigning tasks to notify your team members of the changes. To stay on top of updates, ensure record owners follow important contacts so they receive real-time notifications through HubSpot's built-in system.
Before rolling everything out, test the process by updating a test contact's details to confirm the alerts are working properly. Adjust your workflow settings as needed to prevent duplicate notifications and make sure alerts are sent to the right people. This setup ensures your team stays informed and prepared for timely follow-ups.