
Digital Marketing
·
April 10, 2026
How SaaS Companies Handle Billing Disputes & Chargebacks
Learn how SaaS billing disputes happen, what triggers chargebacks, and how both sides can resolve them faster.
A VP of Sales guide to setting up job change tracking in HubSpot: integrate KeepSync, automate alerts and outreach, and convert moved contacts into pipeline.
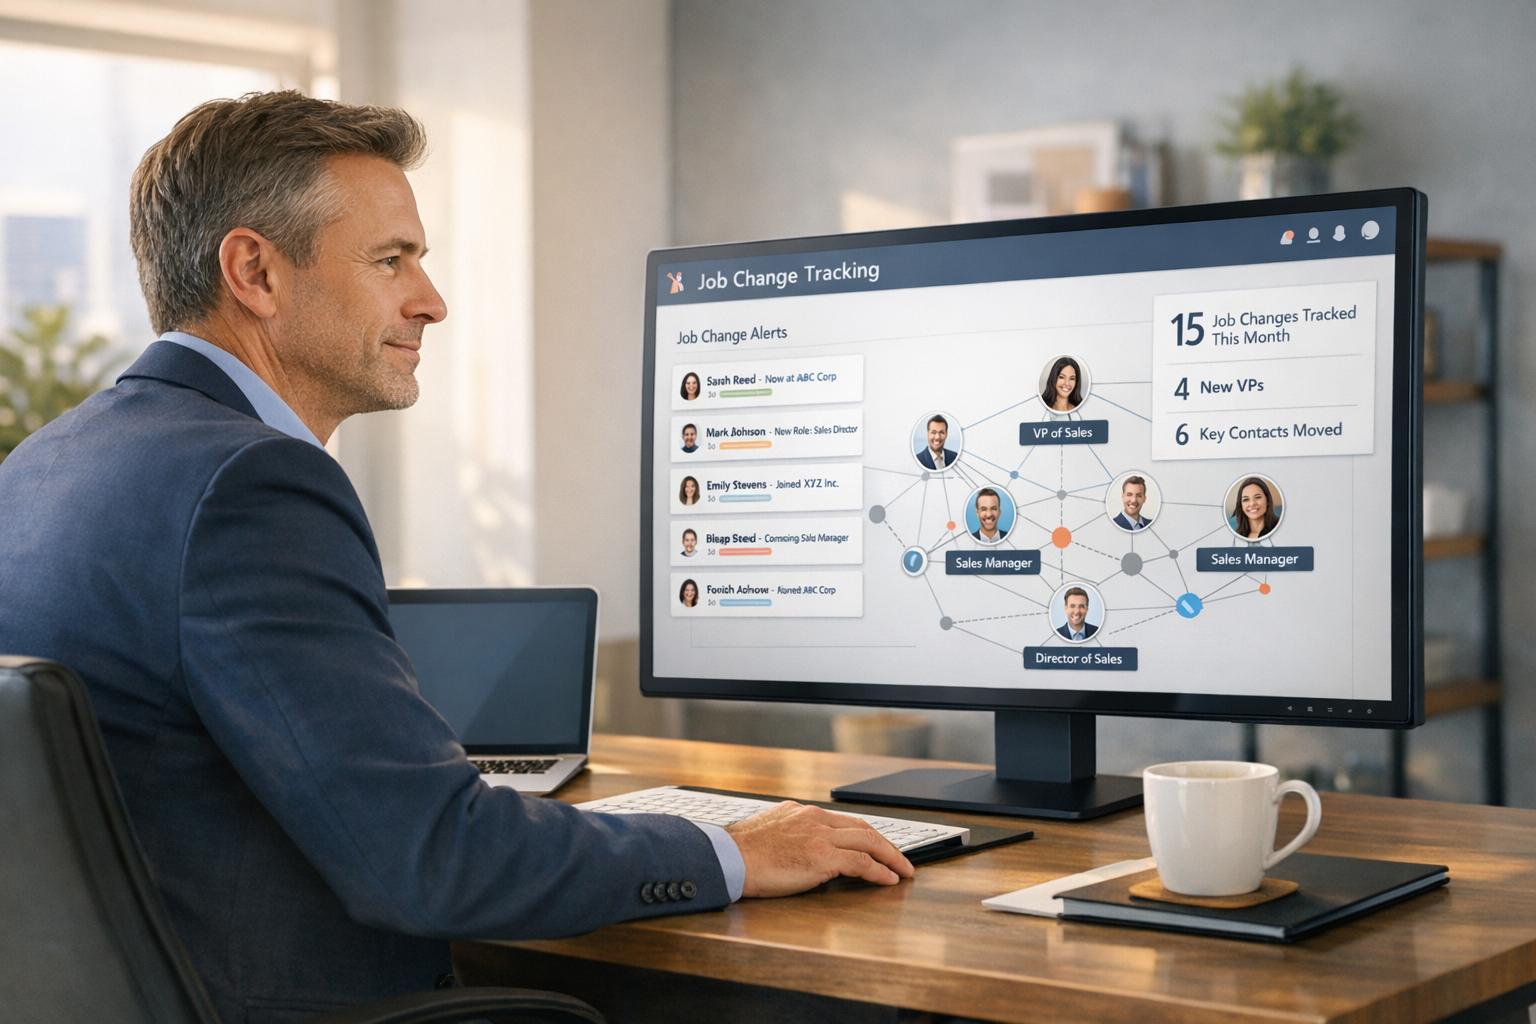
Your sales team might be missing high-value opportunities by not tracking job changes. When key contacts like loyal customers or product champions move to new companies, they often carry their trust in your product with them. But here’s the challenge: 89% of these contacts won’t proactively reach out after switching roles.
The solution? Job change tracking in HubSpot. By automating the detection of updates to job titles or company affiliations, you can act at the right time. Tools like KeepSync integrate with HubSpot to monitor job changes weekly, trigger notifications, and update contact details - all with 94% accuracy. This helps you stay ahead by identifying warm leads and converting them into revenue.
Here’s what you’ll learn:
Key stat: New executives spend 70% of their budget within the first 3 months of starting a new role. Don’t miss out - set up job change tracking to engage them early and drive pipeline growth.
 Job Change Tracking in HubSpot: 3-Step Implementation Guide" style="max-width:100%; margin:1em auto; display:block;">
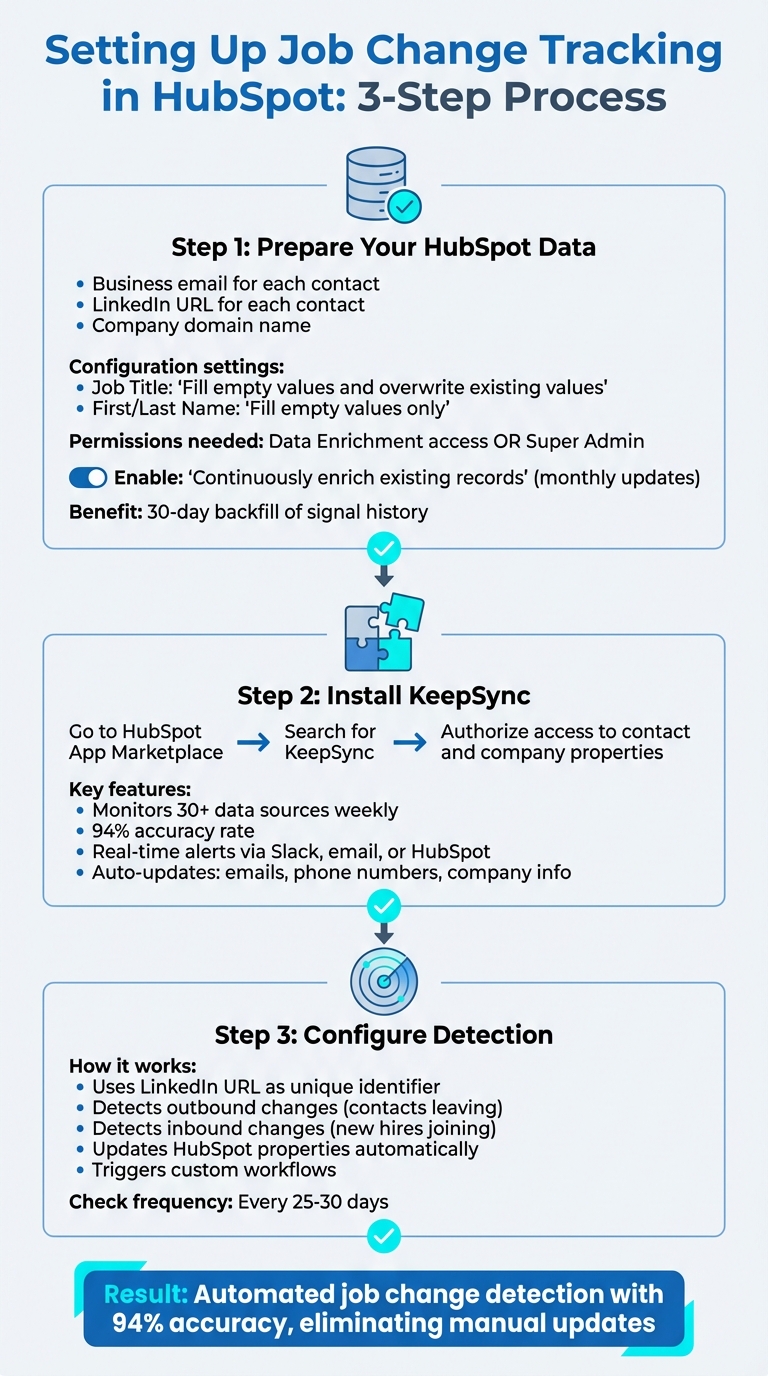
How to Set Up Job Change Tracking in HubSpot: 3-Step Implementation Guide
You don’t need to overhaul your CRM to track job changes effectively. The key steps involve cleaning up your HubSpot data, integrating KeepSync, and understanding how changes are detected. The quality of your results will heavily depend on the accuracy of your initial data. Let’s break down the setup process.
Start by ensuring your HubSpot contacts are properly enriched. Each contact should have a business email and a LinkedIn URL. Personal email addresses (like Gmail or Yahoo) won’t work for enrichment, and companies must include a company domain name in HubSpot to link contacts correctly to their organizations [4].
Before installing KeepSync, review your property mappings in HubSpot. For the Job Title field, set it to “Fill empty values and overwrite existing values” to keep information up-to-date. For First Name and Last Name, choose “Fill empty values only” to preserve data entered manually. You’ll need either Data Enrichment access or Super Admin permissions to make these adjustments [4][8].
To streamline your workflow, create a custom view using the filter “Has been enriched” with the value set to True. This view will help you quickly identify processed contacts. Additionally, enable the “Continuously enrich existing records” option in HubSpot settings. This ensures your records are updated monthly without using extra credits. When you start tracking a company, HubSpot also provides a 30-day backfill of signal history, including job changes [9].
Integrating KeepSync with HubSpot is quick and straightforward. Head to the HubSpot App Marketplace, search for KeepSync, and authorize access to your contact and company properties. Once connected, the system checks that essential fields like LinkedIn URL, Job Title, and Company Name are syncing correctly.
After setup, KeepSync begins monitoring over 30 data sources weekly to detect job changes with an impressive 94% accuracy rate. You can configure real-time alerts to be sent via Slack, email, or directly within HubSpot whenever a contact’s role changes. KeepSync also automatically updates contact details, including verified emails, phone numbers, and company information, which eliminates the need for manual updates.
KeepSync uses the LinkedIn URL as a unique identifier to track updates in job titles, companies, or roles [3][5]. It detects both outbound changes (contacts leaving a company) and inbound changes (new hires joining a target account) [5][6]. When a change is identified, KeepSync updates HubSpot properties or triggers custom workflows [1][5].
The detection process combines automated data enrichment with intent signals, such as notifications from new job postings at target accounts. These signals can reveal company growth or shifts in priorities [5]. Advanced verification ensures LinkedIn URLs and company domains are accurate, reducing false positives from minor profile updates that don’t reflect real job changes [5][10]. Once a change is confirmed, KeepSync dynamically scores the enriched data against its sources to determine the most accurate values for each property [8]. From there, you can configure KeepSync within HubSpot to align tracking with your sales team’s specific needs.
Fine-tune KeepSync to zero in on high-value contacts by selecting specific target segments, setting up notifications, and mapping properties to streamline automated workflows. This step builds on the initial setup, ensuring that job change alerts seamlessly integrate into your sales process.
KeepSync offers a range of tools tailored to meet the needs of sales teams. Once configured, the system provides real-time alerts via Slack, email, or directly within HubSpot whenever a contact changes jobs. It also enriches records with verified emails, phone numbers, and updated company details, eliminating the need for manual updates [6][2]. You can sync job change signals as HubSpot Tasks or Custom Objects, allowing for long-term reporting on how these changes influence your pipeline [2][5]. Additionally, the platform includes ICP and persona filtering, ensuring that your team only receives alerts for relevant roles. For example, if a former CMO transitions to a completely unrelated role, such as farming, the system archives the contact instead of creating a task [2].
Prioritize monitoring for key groups like current customers (especially champions), closed-lost opportunities, and high-fit prospects in your active pipeline [5]. Use HubSpot lists to import these contacts for targeted tracking, focusing only on accounts that align with your Ideal Customer Profile [5]. This segmentation ensures your team can act quickly when decision-makers move into new roles.
Configure KeepSync to check contacts every 25–30 days, ensuring job changes are detected within a month [7]. Map KeepSync fields to HubSpot properties such as "Job Title", "Company Name," and "Job Change Detected." Choose "Replace" for outdated information or "Complete only if empty" to retain manually entered data [2]. Create a dedicated "Job Change Signal" task queue in HubSpot to keep task management organized [5]. For high-priority contacts, mark tasks as High Priority and enable Slack notifications to ensure quick follow-ups [5].
HubSpot workflows make it easy to turn job change signals into actionable steps. Instead of manually handling each alert, you can automate processes like task creation and personalized outreach. This ensures your team responds quickly - often within hours instead of days.
Start by navigating to Automation > Workflows and choosing "From scratch." Use the enrollment trigger "Property value changes" for fields like "Job Title" or a custom "Job Change Detected" flag updated by KeepSync. To avoid pulling in outdated data, select the option "No, only enroll contacts meeting the trigger criteria after activation" when you publish the workflow.
Use If/Then branches to categorize job changes. For example, create one branch for "Job Movements" and another for "New Hires." Within these branches, you can add Ideal Customer Profile (ICP) filters to prioritize high-value changes, such as executive-level moves at companies aligned with your target revenue and industry. Stuart Balcombe from ConnectedGTM notes, "New executives spend 70% of their budget in the first 3 months" [5]. Enable re-enrollment so the workflow automatically triggers again if a contact changes jobs more than once. Once triggers are in place, you can seamlessly move into automating internal tasks.
Use the Create Task action to notify the contact owner, ensuring the rep who already has a relationship with the contact gets the update. Personalize the task title using HubSpot tokens, such as: "Job Change: [Contact Name] moved to [New Company]." To stay organized, assign these tasks to a "Job Changes" queue for focused follow-up.
Beyond task creation, you can update the contact’s lifecycle stage to MQL or SQL and send Slack alerts for high-priority changes. Additionally, use the Create Associations action to link the contact to their new company record by matching domains or company names. This ensures your team always has the most accurate information.
Once internal tasks are automated, streamline external communication by enrolling contacts in personalized outreach campaigns. For example, create sequences that acknowledge their job change, such as: "Congrats on the move from [Old Company] to [New Company]!" Automating this outreach helps maintain warm relationships, especially since 89% of past customers don’t return on their own after starting a new role [5].
You can also add these contacts to LinkedIn or Google Ad remarketing audiences through workflow actions. This keeps your brand visible during their first 90 days, a critical period when they’re likely evaluating new vendors. Before reaching out, trigger enrichment actions to ensure their contact details are up-to-date. Combining immediate task creation, lifecycle updates, and multi-channel outreach can lead to a 10% to 50% increase in pipeline generation [5].
Once your automated workflows are up and running, it’s time to measure their impact. HubSpot's reporting tools make it easy to analyze how these workflows affect your sales pipeline, win rates, and team responsiveness - helping you understand the return on investment (ROI).
Start by setting up two essential contact views in HubSpot. The first view should filter contacts marked as "No longer at company = True." This helps identify relationships that need re-engagement. The second view should focus on newly enriched contacts with updated job titles and companies, providing a clear picture of inactive relationships and fresh opportunities.
Next, create a custom dashboard with three key reports:
To link your efforts directly to revenue, focus on these five key categories:
| Metric Category | Metric | Objective |
|---|---|---|
| Lead Quality | Conversion Rate (Discussion to Opportunity) | Assess the "warmth" of job change leads compared to cold leads |
| Sales Velocity | Time-to-First-Touch | Measure how quickly reps act on job change signals |
| Pipeline | Pipeline Generated ($) | Total value of deals tied to job change signals |
| Efficiency | Response Rate (%) | Percentage of outreach attempts that get a reply |
| Revenue | Closed-Won Revenue ($) | Calculate ROI from deals closed through job change triggers |
Additionally, track the total number of job changes and new hires detected at your target accounts. This volume metric helps gauge the size of your opportunity pool.
These metrics not only show how your workflows are performing but also provide benchmarks for future improvements as job change tracking becomes fully integrated.
To measure the impact of KeepSync, establish a baseline using HubSpot's contact analytics. Review historical trends in lifecycle stages and deal creation dates [11]. After running job change tracking for at least 90 days, compare key metrics such as:
To make these comparisons easier, set up a contact-based workflow that uses the "Set property value" action to record the date a job change is detected [12]. This timestamp allows you to segment contacts and analyze conversion rates and deal velocity over different periods. Companies report a 10-50% pipeline increase when using automated job change tracking [5].
Tracking job changes transforms pipeline generation for VPs of Sales by connecting you with decision-makers at a crucial time - their first 100 days in a new role. During this period, new executives allocate 70% of their budget, making it the ideal moment to engage[5].
These insights pave the way for actionable strategies to drive results.
The strategies in this guide tackle three major challenges: uncovering new opportunities, improving lead nurturing, and driving measurable revenue growth. Here's why job change tracking stands out: past buyers are 5x more likely to convert compared to cold leads, making it a highly effective tool for re-engagement[5]. Additionally, keeping tabs on job changes within existing customer accounts allows your team to spot churn risks early. When a key contact leaves, your success team can proactively connect with their replacement, maintaining relationships and continuity[13].
On the technical side, setting up workflows - from data preparation to automation and custom dashboards - ensures your CRM stays organized. With real-time alerts, your reps can act quickly, and leadership can track ROI through metrics like response rates and pipeline growth tied to job change signals. This isn’t about sending generic "Congrats on the new role" messages. Instead, it’s about using historical relationship data to craft outreach that’s personal and impactful - referencing past deals, products, and challenges you've already solved.
With these benefits laid out, the next step is putting these strategies into action.
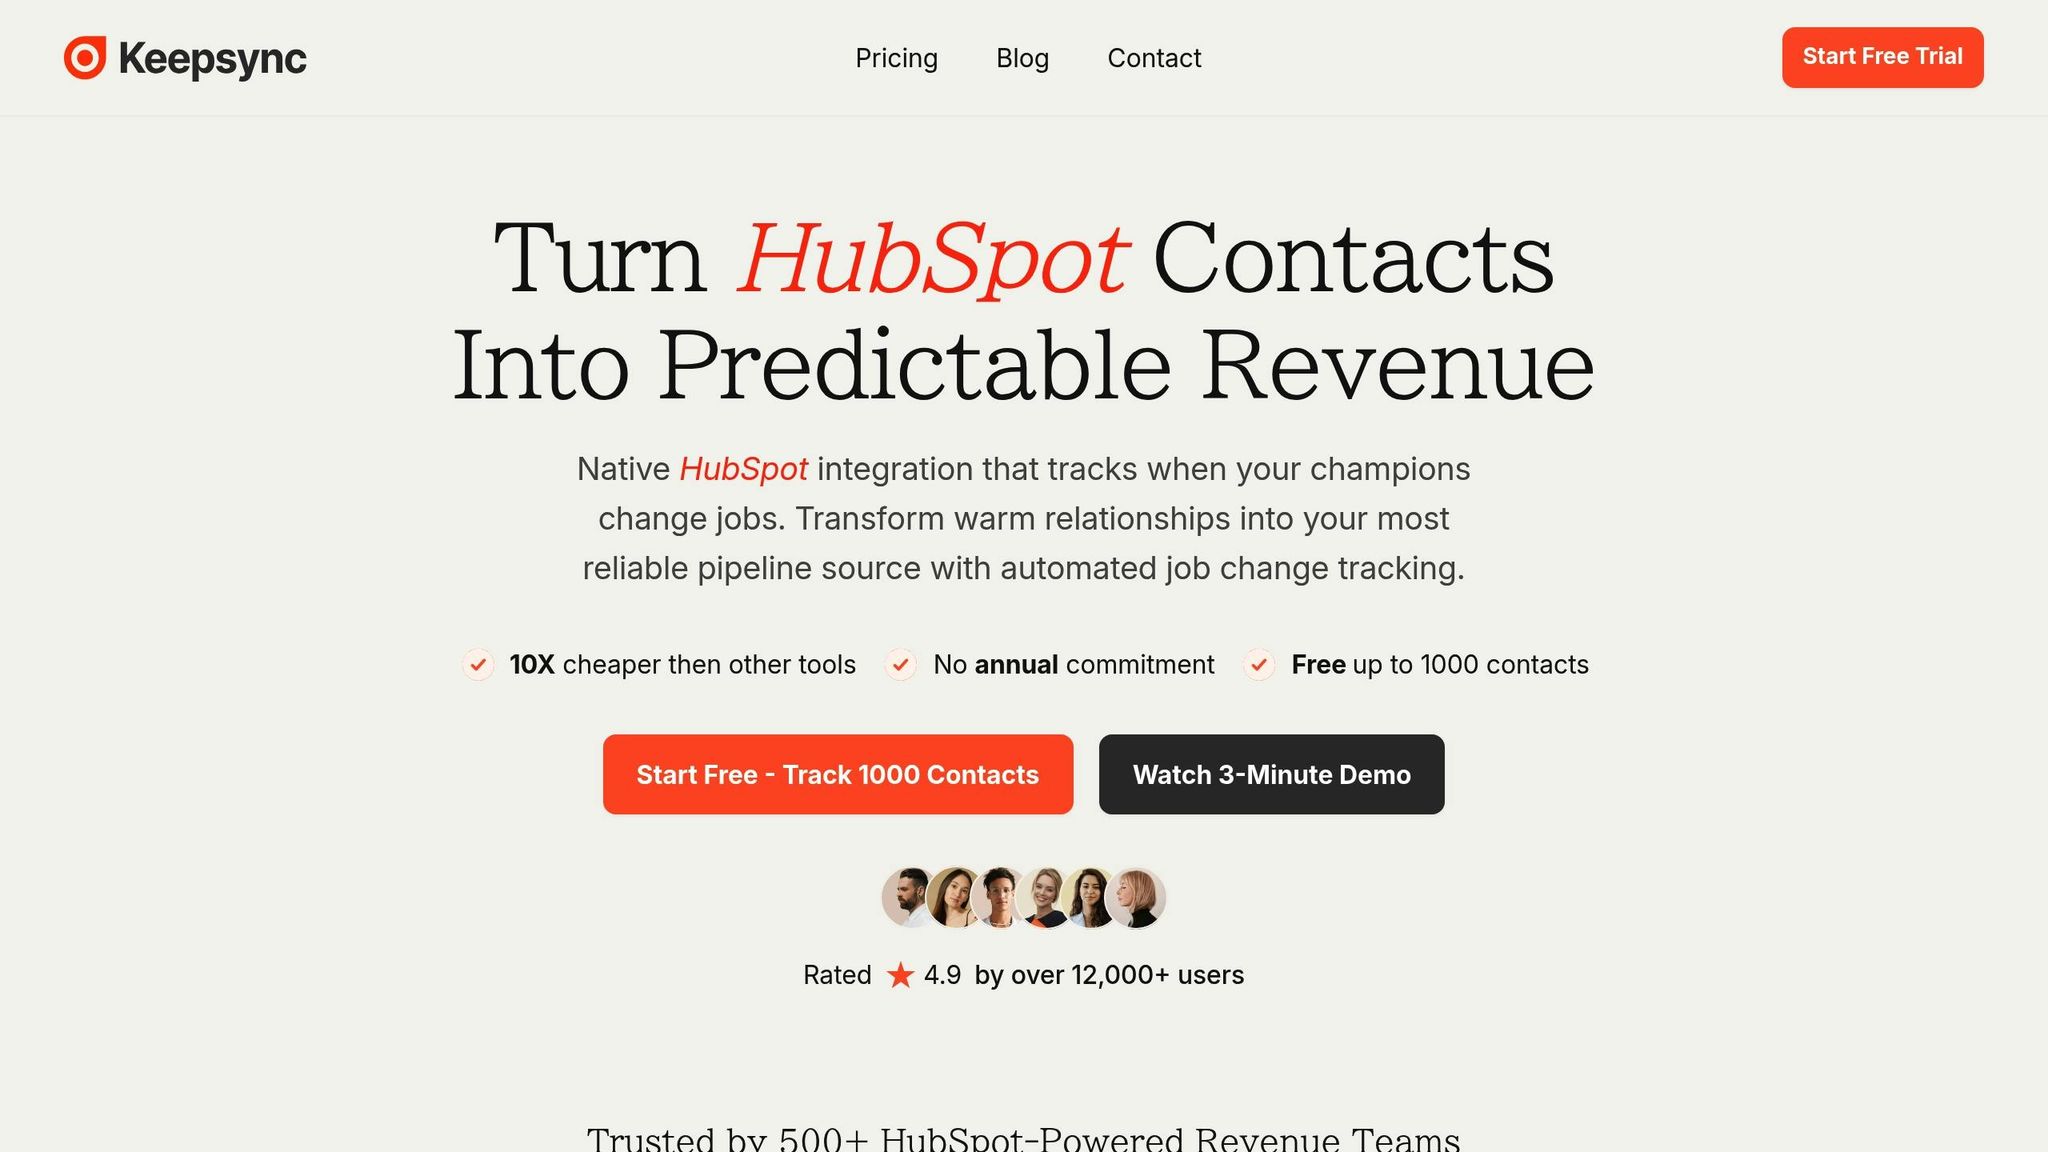
Implementing this approach is straightforward with KeepSync. This platform integrates seamlessly with HubSpot in under five minutes, offering 94% accurate job change detection across 30+ data sources with weekly updates. KeepSync enriches contact records with verified emails and phone numbers while marking outdated records as "No longer at company", ensuring your CRM stays clean. Alerts are delivered in real time via Slack, email, or directly within HubSpot workflows, enabling your team to act on opportunities within days - not weeks.
KeepSync’s Team plan ($149/month for 5,000 contacts) includes Slack alerts and API access, while the Agency plan ($399/month for 20,000 contacts) adds white-label options and a dedicated customer success manager. To get started, integrate KeepSync with HubSpot, apply ICP filters, and set up your first automated workflow to route high-priority signals to the right team members.
Tracking job changes allows you to spot when your contacts transition to new roles or companies, transforming former customers into potential warm leads. It also highlights new decision-makers within organizations, creating opportunities for fresh sales conversations and connections.
Using this information, you can focus your outreach on leads in influential roles, identify chances to upsell or cross-sell, and strengthen relationships with key stakeholders. This strategy can boost your sales pipeline and lead to improved outcomes.
Integrating KeepSync with HubSpot is quick and straightforward, requiring no need for custom properties. To get started, sign up for a KeepSync account or activate a Starter plan ($79/mo). Navigate to the Integrations tab, select HubSpot, and connect your account by authorizing with your HubSpot credentials. This creates a smooth two-way sync between KeepSync and your HubSpot CRM.
Once connected, decide which HubSpot objects you want to enrich, such as Contacts or Companies. Then, map KeepSync’s fields - like Job Title, Company Name, or Email - to their matching HubSpot fields. For added insights, you can include optional fields like “Previous Company” or “Job Started Since” to improve reporting and analysis.
To stay updated, enable real-time alerts via email, Slack, or HubSpot workflows. For example, you can set up a HubSpot workflow to notify account owners, assign tasks, or add contacts to a “Job-Change” list whenever KeepSync updates a contact. Test your integration by updating a contact’s job title in an external source - KeepSync will automatically push the update to HubSpot, allowing you to respond to new opportunities without delay.
To gauge the effectiveness of tracking job changes, start by setting up custom properties in HubSpot, like Previous Company or Job Start Date. Then, create workflows to flag contacts with recent job changes. These workflows allow you to monitor key metrics such as pipeline growth, response rates, and closed-won revenue for flagged contacts compared to a control group.
Dive into the data using HubSpot's reporting tools. For instance, analyze metrics over a specific time frame, like January 1–31, 2026, to assess how job change signals influence your sales outcomes. Pay close attention to shifts in average deal size, win rates, and sales cycle length for flagged contacts. These insights can highlight how tracking job changes contributes to better sales performance.
Make it a habit to review these metrics regularly - monthly or quarterly. Use the findings to fine-tune your workflows, such as prioritizing job changes at senior levels. This ongoing process helps ensure your strategy stays effective and delivers measurable results, like higher revenue or a more efficient sales pipeline.