
Digital Marketing
·
April 10, 2026
How SaaS Companies Handle Billing Disputes & Chargebacks
Learn how SaaS billing disputes happen, what triggers chargebacks, and how both sides can resolve them faster.
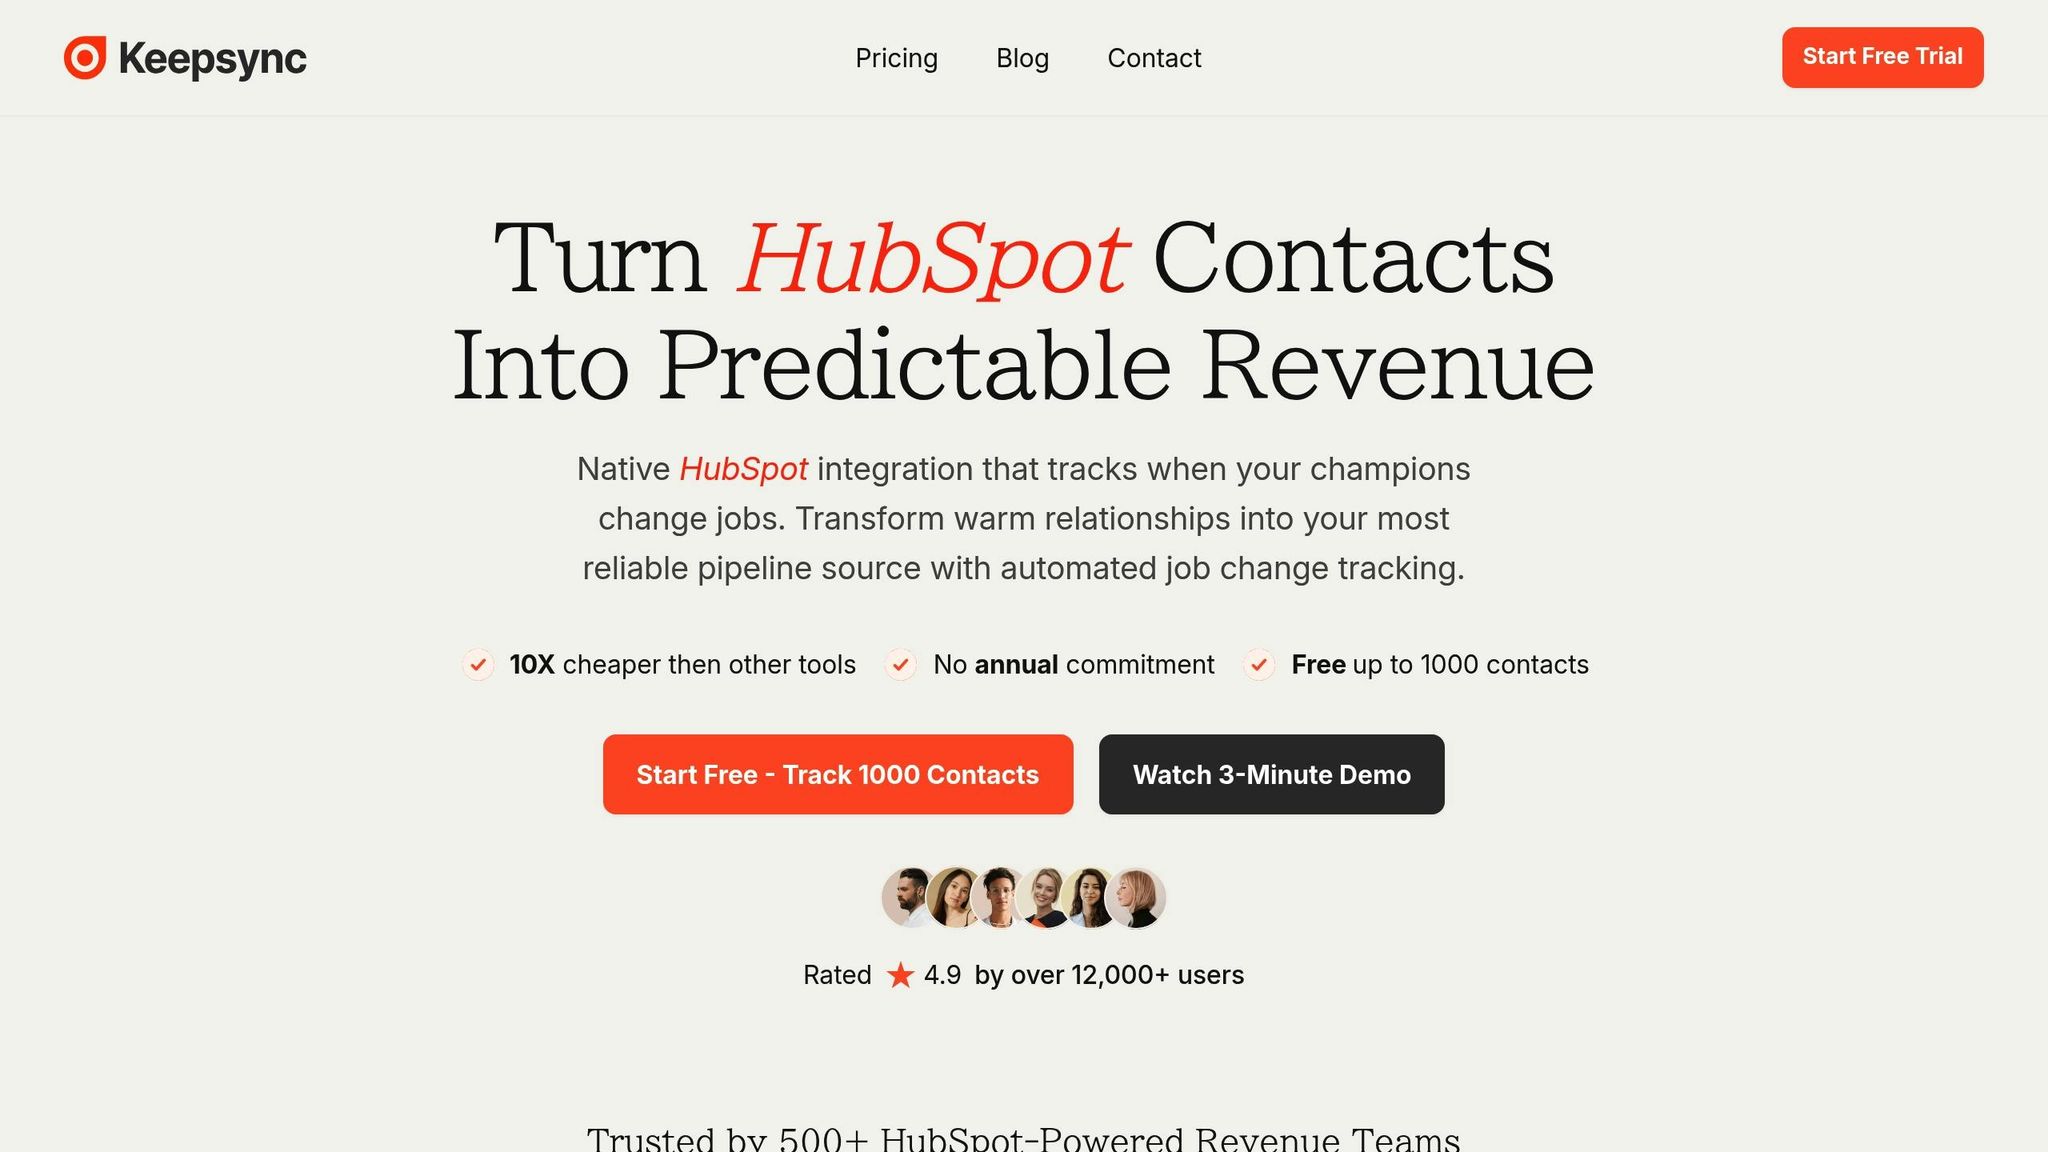
Step-by-step guide to move UserGems data and workflows into a HubSpot-native setup with KeepSync, preserving job-change tracking, enrichment, and automation.

Switching from UserGems to a HubSpot-native solution simplifies your CRM setup, saves costs, and improves efficiency. By using tools like KeepSync, you can integrate job change tracking, real-time alerts, and automated workflows directly into HubSpot without external dependencies. This is often a key factor when comparing job change tools for HubSpot. This guide walks you through:

5-Step Migration Process from UserGems to HubSpot-Native Solution
Before making the switch, take time to document the custom properties UserGems has created in your HubSpot system. Look for fields with a "UG" prefix, such as UG - No Longer at Company, UG - Past Relationship Type, and UG - Persona. These fields are crucial for tracking job changes and triggering workflows [1].
Next, review the HubSpot lists that UserGems is monitoring. These typically include categories like "Closed Won Opportunity Contacts", "Champions", and "Users." Knowing which contacts are being tracked - and the reason behind it - helps ensure you won't lose critical insights during the migration [1]. UserGems suggests that your Ideal Persona criteria should encompass at least 50% of the titles found in open opportunities for optimal effectiveness [1].
Once you've documented your current setup, identify the core features and processes that need to transfer to keep your workflows running smoothly.
Focus on replicating essential functions like job change tracking for role transitions, lead enrichment to add verified contacts without duplicates, and automated workflows triggered by signals such as UG - No Longer at Company = Yes [2][3].
Pay close attention to relationship mapping. UserGems links a contact's old record (previous job) with their new one (current job) using the UG - Past Contact property, which stores the HubSpot ID of their former position [1]. This historical connection is key for enabling personalized outreach and maintaining context.
Accurately replicating these features is critical to preserving the efficiency of your existing processes.
Use HubSpot's record export feature to export your data, selecting the "All properties" option. Be sure to include the Record ID field to maintain links between past and current job records [7][8]. Check the UG - Last Updated property to identify recent updates, and manually record your Ideal Customer Profile (ICP) settings from the UserGems web app [1].
With your data exported and your current setup documented, you’ll be ready to prepare your HubSpot environment for the migration.
To get HubSpot ready for replicating UserGems tracking functions, you'll need to configure custom properties and workflows. This involves creating fields to store historical job data, setting up workflows to track changes automatically, and triggering sales actions. Essentially, you're using HubSpot's automation tools to mirror the processes you had before.
Start by navigating to Settings > Properties in HubSpot. Create fields like "Previous Company", "Previous Job Title", and a date picker labeled "Job Change Date" to capture employment history details [9].
HubSpot's default properties are helpful, but adding custom fields can better replicate UserGems tracking. Make sure the field types you choose match the data they’ll hold. For instance, use single-line text fields for text inputs [10].
Once the basic fields are set, refine them to enhance lead data dynamically. Configure properties like "Job Title" and "Employment Seniority" to fill in missing values or update outdated ones automatically [10]. Mapping identifiers such as "LinkedIn URL" and "LinkedIn company page" can also help track contacts as they move between companies [10].
You might also want to include a "Has been enriched" property (True/False). This small addition can help you quickly identify which contacts have been updated with new information and which ones might need a manual review [10].
Workflows are key to automating job change alerts and lead follow-ups. To set up job change notifications, create a workflow with triggers based on "Data values." For example, you can trigger actions when a contact's "Job Title" or "Company Name" is updated [14]. Don't forget to enable re-enrollment for these properties, so changes are tracked continuously [4] [11].
For lead follow-ups, use filter-based triggers that enroll contacts when lifecycle stages change or when job changes occur [11] [14]. These workflows keep your sales efforts aligned with your business goals. HubSpot allows up to 250 filters in a single workflow, giving you detailed control over who enters your automation sequences [11].
Keep in mind that HubSpot stores workflow action logs for 90 days and enrollment history for six months. This gives you a clear view of how your automations are performing [4]. Additionally, when creating workflows that link contacts to companies, be aware of the daily limit of 5 million executions for the "Create associations" action [5].
Once HubSpot is set up, the next step is to align UserGems' features with HubSpot's native capabilities, enhanced by KeepSync. The table below breaks down how each UserGems feature translates into HubSpot functionality powered by KeepSync.
| UserGems Feature | KeepSync & HubSpot Equivalent | Key Difference |
|---|---|---|
| Job Change Alerts | KeepSync Real-time Alerts + HubSpot Workflows | KeepSync offers 94% accurate tracking directly within HubSpot, avoiding external sync delays [1]. |
| CRM Data Enrichment | HubSpot Native Data Enrichment | HubSpot enriches records with updated location, industry, and revenue data on a monthly basis [10]. |
| Signal-Based Triggers | HubSpot Property-Based Workflows | Triggers respond to real-time property changes, such as "No Longer at Company" [3]. |
| Relationship Mapping | HubSpot Record Associations | Native association labels (e.g., "Decision Maker") automatically link contacts and companies [5]. |
| Past Champion Tracking | Custom Properties + Association Labels | Custom fields like "Past Relationship Type" and bi-directional associations retain historical context [1][5]. |
Unlike UserGems, which integrates externally to sync enriched contacts into HubSpot, KeepSync operates natively within the CRM. This eliminates the need for middleware, reducing delays that could hinder timely sales responses [1].
This streamlined integration simplifies processes and enhances automation, ensuring your team gets the most out of HubSpot.
KeepSync takes HubSpot's built-in features to the next level by monitoring over 30 data sources automatically. When a tracked contact changes roles, KeepSync sends real-time alerts via Slack, email, or directly in HubSpot, triggering your pre-set workflows instantly. With a 94% accuracy rate, your sales team gets dependable updates without the risk of false positives. Contact records are enriched with verified email addresses, phone numbers, and updated company details, all stored directly within HubSpot [10].
KeepSync's seamless integration allows you to use HubSpot's standard workflows for property-based triggers. For instance, if KeepSync updates a contact's "Job Title" or flags them as "No Longer at Company", your workflows can immediately assign tasks, send notifications, or enroll contacts into sequences [3]. HubSpot's native enrichment relies on business email addresses and company domain names, and KeepSync ensures these requirements are met through its verification process [10].
To optimize your setup, configure overwrite rules in HubSpot. For dynamic fields like "Job Title" or "Employment Seniority", set them to overwrite existing values, while sensitive fields like names should only populate if empty [10].
Now that your HubSpot setup is ready, it’s time to migrate your data and activate the new system. The key here is to ensure that no data is lost during the transition. Carefully import your data and verify each step along the way.
With your environment set up and mappings finalized from Steps 1–3, you can start transferring your data. Begin by exporting your contact and company ICP data from UserGems. When you import this data into HubSpot, select "Create and update records". This ensures that existing records are enriched with new data rather than creating duplicates [16].
Use Email as the unique identifier for contacts and Company domain name for companies. These identifiers are crucial for avoiding duplicate entries and ensuring that updates are applied to the right records [15][16]. Make sure to map the UserGems fields - like UG - No Longer at Company, UG - Past Relationship Type, and UG - Past Account - to the corresponding custom properties in HubSpot.
If you’re using HubSpot Professional or Enterprise, take advantage of the advanced import process to map association labels. This step preserves critical relationship contexts, such as manager-to-contributor connections or past company relationships [15][17]. During the final stage of the import, check the "Create a contacts segment from this import" box. This will generate a test segment, making it easier to validate your data before activating live workflows.
As you review the "Mapped" column, address any alert icons that appear. These might indicate issues like invalid emails or type mismatches. Use the "[x] errors" prompt to resolve these conflicts [15][17]. HubSpot will automatically scan the first 1,000 rows of your import file to flag errors [15].
Once the import is complete, move on to testing and validating the setup to ensure everything is functioning as expected.
Start by verifying that the import history counts for "Updated records" and "New records" align with the data you exported from UserGems [16]. Then, check the "Review and publish" panel within your workflows to confirm that enrollment estimates match your trigger configurations [4].
Create a static list of contacts that meet the enrollment criteria to manually review records before activating live workflows. Use HubSpot's workflow minimap to identify any actions marked in yellow, as these indicate incomplete configurations that need attention [4]. Additionally, manually inspect sample records to confirm that UserGems-specific custom properties have been correctly mapped to the appropriate HubSpot fields [1].
Finally, monitor the "Workflow history" tab to track actions and enrollment updates [4]. This step ensures everything is working smoothly before the system goes live.
With your migration finalized, it’s time to fine-tune your setup to maximize ROI and prepare for future growth. Start by standardizing naming conventions - use past tense labels like "Contacted" or "Connected" to maintain clarity as your team expands [18]. To ensure data accuracy, require key fields (e.g., "Demo Date") before advancing records by using conditional stage properties [19]. This step helps keep your reporting clean and reliable, even when managing hundreds of deals at once. Afterward, enhance your performance tracking with KeepSync Analytics.
Automate your tracking process by leveraging the Lead status property. For instance, leads can automatically move from "Attempting" to "Connected" based on your sales reps' activity [12]. This automation not only saves your team time but also provides cleaner data for reporting purposes [20].
Focus your analytics on high-conversion touchpoints to pinpoint bottlenecks in your sales process. Reports like "Uncontacted New Leads by Owner" or "Connected/Replied Leads by Owner" can reveal where leads are stalling [20]. Automated renewal processes can boost renewal rates by 18%, and retaining customers proactively through automated monitoring is 5-7x less expensive than acquiring new ones [6]. Use KeepSync's pipeline analytics to track response rates from job change alerts, comparing how quickly your team converts these warm leads versus cold outreach.
HubSpot retains workflow action logs for 90 days and enrollment history for six months, giving you ample time to audit automation performance [4]. Make it a habit to review these logs regularly to confirm workflows are functioning as intended and leads aren’t getting stuck at critical steps [6].
Once your tracking is optimized, expand your automation as your team grows by exploring HubSpot-native job change tracking alternatives. Clone pipelines to replicate successful rules and automations across departments [19]. This strategy ensures consistency while minimizing setup time for new teams or product lines. Use HubSpot's workflow minimap to navigate and manage complex automation architectures, especially when handling multiple interconnected workflows [4].
Take advantage of HubSpot's Breeze AI to streamline the creation of new workflows as your needs evolve. This AI tool can generate enrollment triggers and workflow actions based on simple prompts, dramatically reducing setup time [4][21]. For example, if you’re launching a new product and need to automate follow-ups, Breeze AI can build the necessary framework in minutes.
Set team-only permissions to share pipelines efficiently and conduct regular audits to eliminate duplicate workflows [18][19]. Implement automated record creation workflows to generate deals, leads, or tasks whenever lifecycle stages change, cutting down on your sales reps’ administrative tasks [12][13]. If certain workflows, like recurring demo requests, require contacts to re-enter the process, enable re-enrollment triggers selectively to handle these scenarios effectively [4].
Switching from UserGems to a HubSpot-native solution with KeepSync transforms your CRM into more than just a database - it becomes a proactive assistant. As HubSpot staff put it, "Think of HubSpot as your new automated assistant that never forgets to follow up, rather than just a place to store contact info" [6]. By integrating key features like job change tracking, lead enrichment, and sales automation directly into HubSpot, you eliminate data silos and streamline your workflows.
This transition doesn’t just simplify processes - it helps maintain revenue momentum. From auditing your current setup to optimizing workflows, the migration ensures your team stays focused on revenue-critical tasks. Features like demo request automation and SQL handoffs keep opportunities moving through the pipeline. With native integration, automated workflows can manage 60–80% of lead volume, freeing up your sales team to concentrate on high-value conversations [6].
Automating renewals can increase renewal rates by 18%, while proactive retention strategies - like monitoring health scores - are 5–7 times more cost-effective than acquiring new customers [6]. KeepSync’s 94% accuracy in tracking job changes, combined with HubSpot’s automation, ensures timely outreach to former champions and closed-lost contacts, turning these into new opportunities.
Data integrity is key to a successful migration. Building your solution natively in HubSpot with KeepSync avoids common issues like mismatched property names and broken integrations. This clean, efficient setup strengthens the improvements made during the migration.
Begin with your most critical workflows, test with sample contacts, and scale up your automation to maximize every job change. KeepSync’s real-time job change alerts paired with HubSpot’s powerful automation tools create a system that not only keeps up with changes but turns them into growth opportunities. Over time, this approach builds a competitive edge that compounds, making every job change a chance to win.
A HubSpot-native solution simplifies the way you manage your operations by bringing all your customer data together in one central platform. Forget juggling multiple tools - this approach cuts down on complexity and helps your team work more efficiently.
With features like AI-powered lead enrichment, automated workflows, and smooth integration, HubSpot makes it easier to get started and grow as your business evolves. Plus, it fine-tunes your sales processes, helping you achieve a stronger ROI and boosting performance to match your business goals.
KeepSync simplifies your transition to HubSpot's native tools by delivering real-time job change updates verified across multiple sources, enriched contact details, and instant alerts through Slack, email, or HubSpot notifications. With these tools, you can stay informed about important updates without relying on custom properties.
On top of that, KeepSync offers pre-built workflows that optimize your sales processes, ensuring smooth operations and helping you get the most out of your investment. This integration allows your team to take full advantage of HubSpot's features, tailored specifically for B2B sales workflows.
To ensure your data stays accurate during the migration to HubSpot, stick to these key steps:
Taking these steps will help you transition smoothly to HubSpot while keeping your data intact and ready for use.